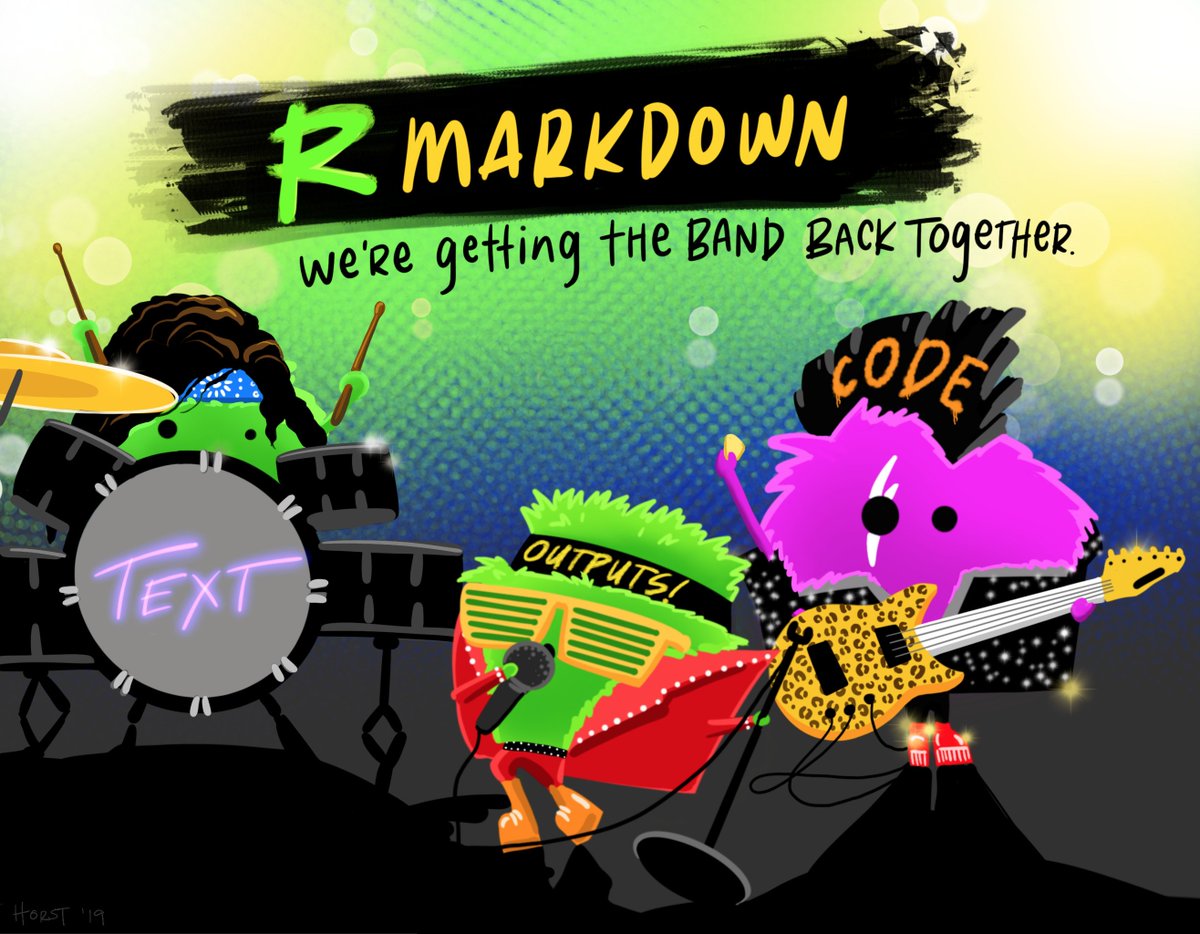
Writing in RMarkdown is different to writing in Word. What you see is not quite what you get. To preview what your formatted text will look like, use the “Knit” button on the top bar, or the keyboard shortcut Shift-Command-K.
1. Italics and Bold
If you want italics or bold use asterisks.
Raw Rmd
*one asterisk*

**two asterisks**
Knitted Rmd
one asterisk
two asterisks
2. Levels of heading
You can get levels of heading with hash.
Raw Rmd
# BIG HEADING
## Smaller Heading
### even smaller heading
Knitted Rmd
BIG HEADING
SMALLER HEADING
EVEN SMALLER HEADING
3. Bullets
You can get bullet points using dash…
Raw Rmd
- first important point
- second point
- and third...
Knitted Rmd
- first important point
- second point
- and third…
4. Code Chunks
You can insert code “chunks” by using the shortcut, Option-Command-I or choosing Insert R from the top menu bar.
The power of RMarkdown comes from being able to intersperse code chunks, output, and explanation in the same document.
this is a code chunk
print("hello world")
[1] "hello world"5. Images
Save your image file in the img folder and tell R where to find it using the include_graphics() and here::here() functions
knitr::include_graphics(here::here("img", "band.jpg"))

Need help?
The RMarkdown reference guide is helpful in learning how to create formatted text in R-Markdown.